|
|
|
|
Digital alignment |
|
Digital image pairs can be easily aligned using Adobe PHOTOSHOP (and very likely other image editing softwares). Careful alignment is very important for comfortable 3D viewing, especially in projection. What follows is our method for alignment which we have found to be fast and efficient.
NOTE: Another EASY method for alignment (and many other stereo still processes) is to utilize STEREO PHOTO MAKER. |
|
|
|
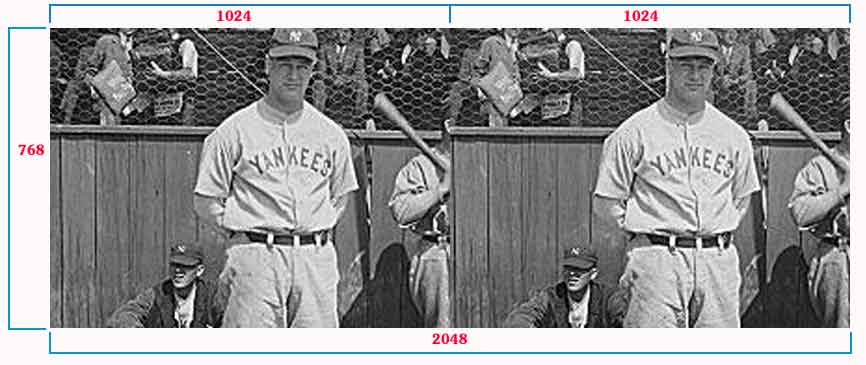
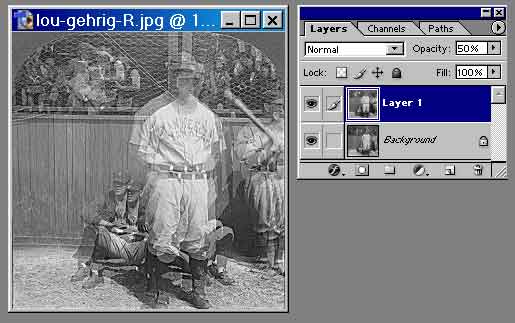 Image A |
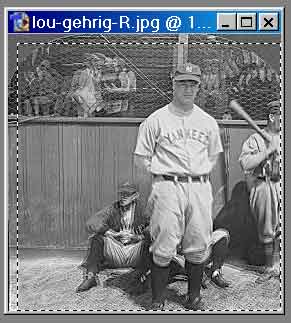 Image B |
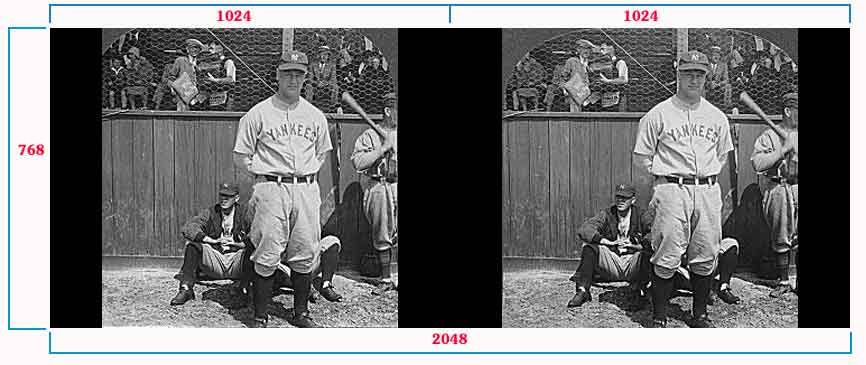
CROPPING for a 2XGA image2XGA images are used to project 3D stills from a laptop to dual digital video projectors |
|
 |
|
|
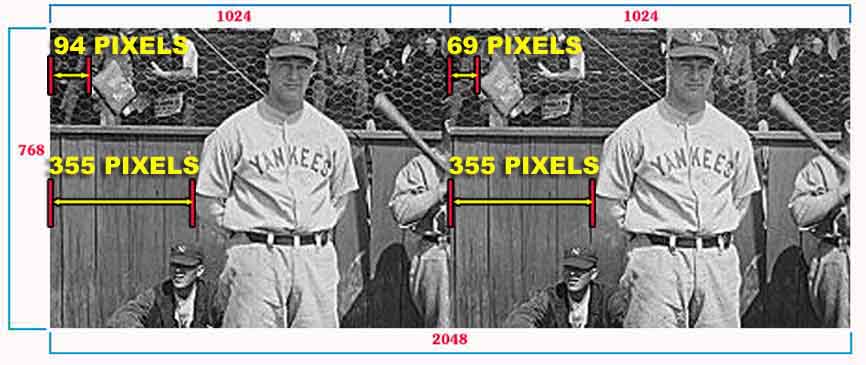
Looking at Image B above, you would shrink the height of the images to 768 each (it's always better to make images smaller than to try and make them larger, so start out with a good size scan!). Since the width of these images is less than 1024, you would go Image/Canvas Size to make the images 1024 wide (black is the best background color). You would then put the two images side by side as one... One way to do this is to take the right image, change canvas size to 2048 (make sure right image stays on the left) and use a different background color (like yellow). Using the Magic Wand Tool, select the new (yellow) background on the right. Go and Select All on the left image, and paste it into the selected (yellow) area of the expanded right image. Flatten. Save as .jpg and chage the extension to .jps if you want the image to be understood as a stereo image by softwares such as Vrex Depthcharge.
|
|
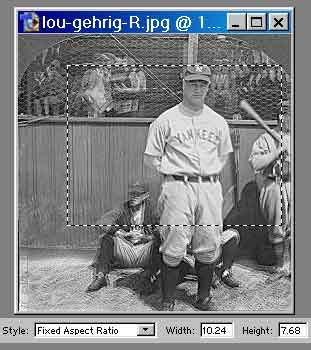 |
Very often you will want to try and use the full 1024x768 image area... to do this, use the "Fixed Aspect Ratio" option on the Marquee Tool, then set the width to 10.24 and height to 7.68. While the image pair is still in layers, select the area you want for your final image. (Hopefully your scan has enough resolution to still provide at least 768 worth of vertical pixels!) Crop, and go Image Size to convert to 1024x768 (changing one number should automatically change the other... be sure to have "Constrain Proportions" checked!). Now you can make your 2XGA image as described above.
|
 |
|
|
NOTE ON INFINITY SEPARATION!
The farthest object in a scene can be considered "infinity". The convergence point of a scene has ZERO parallax- it is in the exact same spot in each image of the stereo pair. As you go back in the scene toward infinity, "positive" parallax increases until the maximum is reached at infinity.
MAXIMUM INFINITY SEPARATION = 25-30 PIXELS (Our eyes, however, have no problems converging- so items may come OUT of the image ["negative" parallax] quite a bit more than 30 pixels.) |